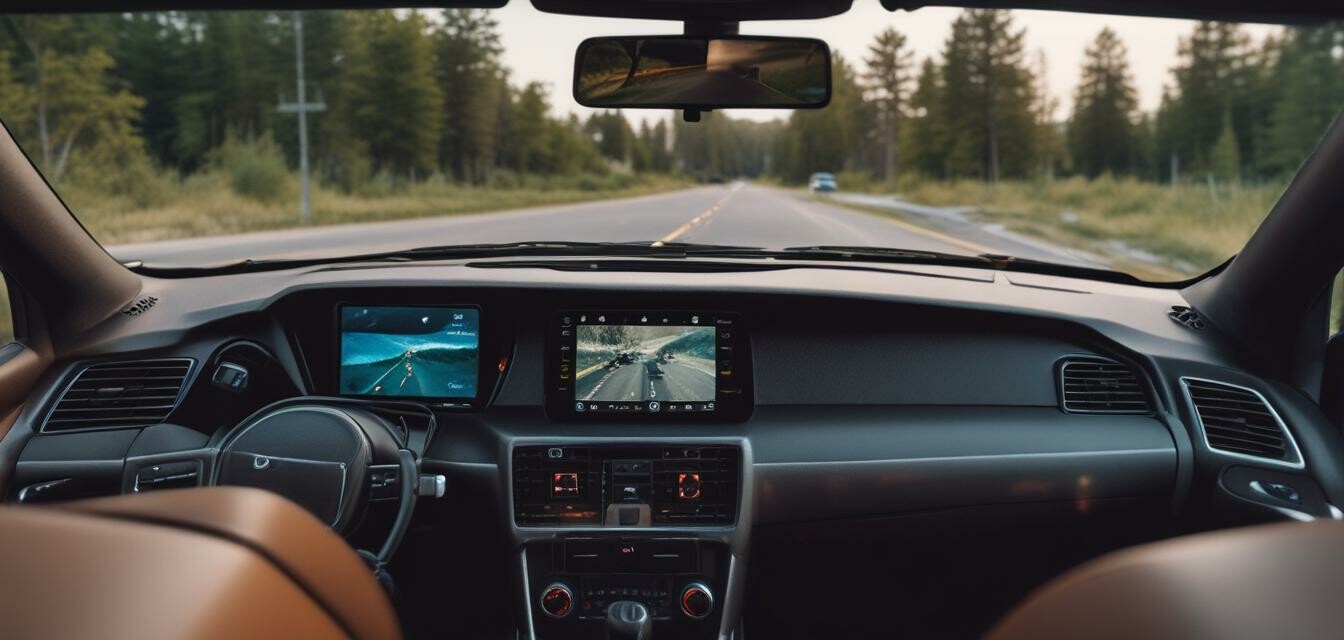
How to Install Dual Cameras: A Step-by-Step Guide
Key Takeaways
- Understand the importance of dual cameras for comprehensive recording.
- Follow precise installation steps to ensure optimal functionality.
- Locate appropriate mounting positions for maximum field of view.
- Learn about necessary tools and safety precautions.
Installing dual dash cameras can significantly enhance your vehicle's security and provide valuable evidence in case of road incidents. This guide walks you through the installation process step-by-step, ensuring you know how to get the most out of your dual camera system. Whether you're a novice or have some experience, following these instructions will help ensure a successful setup.
Why Dual Cameras?
Dual cameras offer several advantages when compared to single camera setups. They provide a 360-degree coverage around your vehicle, capturing critical moments in front and behind you. This comprehensive recording capability is especially vital for:
- Accident documentation
- Insurance claim support
- Enhanced safety during driving
Tools You Will Need
Before you begin the installation, gather all the necessary tools. Here’s what you’ll need:
- Dual dash camera system
- Mounting brackets
- Screwdriver (Phillips and flathead)
- Wire strippers
- Electrical tape
- Zip ties
- Measuring tape
Step-by-Step Installation Process
| Step | Description |
|---|---|
| 1 | Choose the mounting locations for both the front and rear cameras. Ensure they have a clear view of the road. |
| 2 | Securely mount the front camera just behind your rearview mirror using the provided brackets. |
| 3 | Connect the front camera’s power cable to your vehicle's power source, typically the fuse box. |
| 4 | Route the cable along the vehicle's edge for a clean installation, using zip ties as needed. |
| 5 | Mount the rear camera on the rear window using the same mounting methods as the front, ensuring a clear view. |
| 6 | Connect the rear camera to the front camera (if applicable) using the provided wires. |
| 7 | Reconnect power to ensure both cameras are operational. Test the functionality by turning on the vehicle. |
| 8 | Adjust camera angles for optimal recording views and secure any loose wiring. |
Final Checks
After installation, do a thorough check to ensure:
- Both cameras are securely mounted.
- The wiring is tidy and out of the way of any moving parts.
- Camera angles are properly adjusted for the best field of view.
Common Installation Problems
While installing your dual cameras, you may encounter some common problems:
- Cable length issues: Ensure the cables are long enough to reach your power source.
- Poor visibility: Adjust camera angles if they don’t capture the desired field of view.
- Power connectivity: Double-check your connections, ensuring they are secure.
Additional Tips
Tips for a Successful Installation
- Consult your vehicle's manual for specific wiring locations.
- Consider parking your vehicle in your garage to avoid distractions during installation.
- Use adhesive mounts for a cleaner installation over traditional suction mounts.
- Check for updates and new features of your camera system.
Conclusion
Installing dual cameras in your vehicle enhances your safety on the road. By following this step-by-step guide, you can confidently set up your system with minimal hassle. Don’t forget to regularly check your camera settings and recordings to ensure they are functioning correctly. For more information on camera systems, feel free to explore our other posts on buying guides and tips and how-to's.
Pros
- Enhanced safety with wider coverage.
- Provides video evidence in case of accidents.
- Relatively easy installation process.
- Can deter fraud and unsafe driving behavior.
Cons
- May require professional installation if unfamiliar with wiring.
- Potential interference with existing vehicle electronics.
- Installation can take time if beginner.
