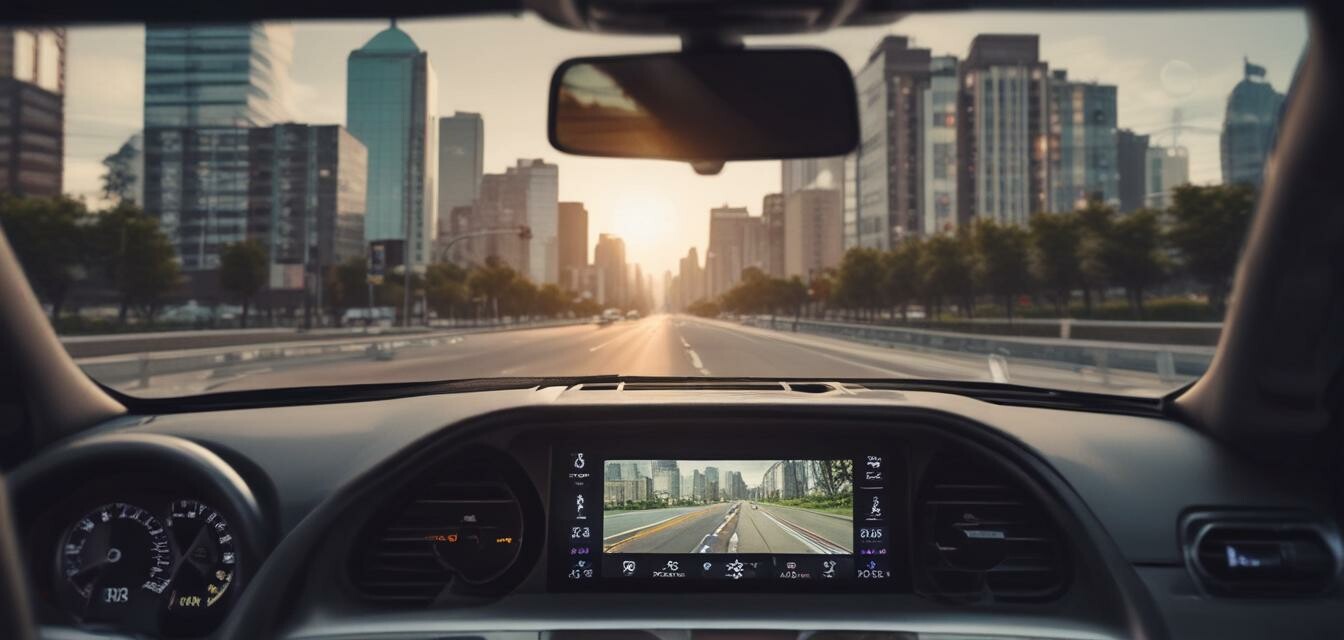
Customizing Your Dash Cam Settings for Best Results
Key Takeaways
- Understanding your dash cam settings can significantly enhance your recording quality.
- Adjust settings like resolution, frame rate, and exposure to suit your driving conditions.
- Efficient storage management is crucial for continuous recording.
- Utilizing features such as G-sensor and loop recording can optimize your dash cam's performance.
- Regularly check for firmware updates to access new features and improvements.
If you want the best possible performance from your dashboard camera, customizing its settings is essential. Dash cams are not just about capturing footage; they should cater to your specific driving habits and the conditions you frequently encounter. In this guide, we will explore critical settings you can adjust to improve video quality, storage efficiency, and detection capabilities. By the end of this guide, you'll be ready to tailor your Dash Cam for any situation.
Understanding your dash cam settings
Before diving into customization, it's important to familiarize yourself with the typical settings your dash cam offers. Most modern dash cams allow adjustments in several key areas:
| Setting | Description | Why It Matters |
|---|---|---|
| Resolution | The quality of the video recorded, typically available in 720p, 1080p, 2K, or 4K | Higher resolutions yield clearer images, making it easier to identify details in case of an accident. |
| Frame rate | The number of frames captured per second, often 30fps or 60fps | Higher frame rates result in smoother video playback and better motion capture. |
| Exposure | Controls how light is captured, useful in bright or dim environments | Adjusting exposure helps ensure clear footage in variable lighting conditions. |
| Loop recording | Enables the camera to overwrite the oldest footage when the storage is full | This ensures continuous recording without the need to manage files manually. |
How to customize common dash cam settings
Now that you know the available settings, here’s how to customize them for the best results:
1. Adjusting resolution and frame rate
To get started, access your cam’s settings menu:
- Navigate to the video settings section.
- Select your preferred resolution. For most users, 1080p is sufficient, but 4K may be ideal for those seeking top-tier clarity.
- Next, choose the frame rate. A frame rate of 60fps is recommended for clearer motion capture.
2. Modifying exposure settings
Adjusting the exposure can significantly help in various driving conditions. Follow these steps:
- Locate the exposure settings within the interface.
- Increase or decrease the exposure level based on whether you are driving during the day or night.
- Test your settings by recording in various lighting environments to find what works best.
3. Enabling loop recording
Loop recording is crucial for maintaining continuous footage. Here’s how to enable it:
- Access the recording settings.
- Toggle on the loop recording feature.
- Set the time duration for clips (usually 1, 3, or 5 minutes).
Managing storage efficiently
Your dash cam's storage capacity directly impacts its efficiency. Here are some practical tips:
- Choose a high-capacity SD card compatible with your dash cam.
- Regularly format your card to free up space and ensure optimal performance.
- Use a dash cam that allows for cloud storage options, if available.
Utilizing advanced features
Modern dash cams include sophisticated features that can enhance your recording experience:
- G-sensor: Detects sudden movements, saving essential video in case of an incident.
- Parks mode: Monitors your vehicle while parked to capture any incidents.
- GPS: Tracks your location and speed, providing useful data and context for videos.
Regular maintenance and updates
Maintaining your dash cam properly will ensure that it performs at its best:
- Periodically check for firmware updates that can enhance functionality.
- Clean the lens regularly to avoid blurry footage caused by dirt or smudges.
- Review stored footage occasionally to ensure everything is functioning as expected.
Tips for beginners
- Start with factory settings, then slowly customize as you learn.
- Watch tutorials specific to your model for tips on optimization.
- Join online forums or communities to share experiences and get advice.
Pros
- Enhanced video quality through optimal settings.
- Efficient storage and management of footage.
- Ability to adapt settings to specific driving conditions.
Cons
- Initial learning curve when navigating settings.
- Inconsistent results without regular adjustments.
By taking the time to adjust your dash cam settings, you’ll ensure you’re prepared for any driving hazard and can document your journeys effectively. For more information on how to maintain your dash cam, check out our detailed blog tips section and become a more informed driver. Exploring budget-friendly cameras or dash cams with advanced features can also prove beneficial for your needs. Keeping up with the latest news and trends in dash cams is essential for maximizing your investment. And don’t forget to read our buying guides to make informed purchasing decisions.
